Installing Arch Linux on the “Le Potato” (AML-S905X-CC) Single-Board Computer
This article will explain how to install Arch Liunx onto the popular single baord computer known as “Le Potato”.
What is “Le Potato”
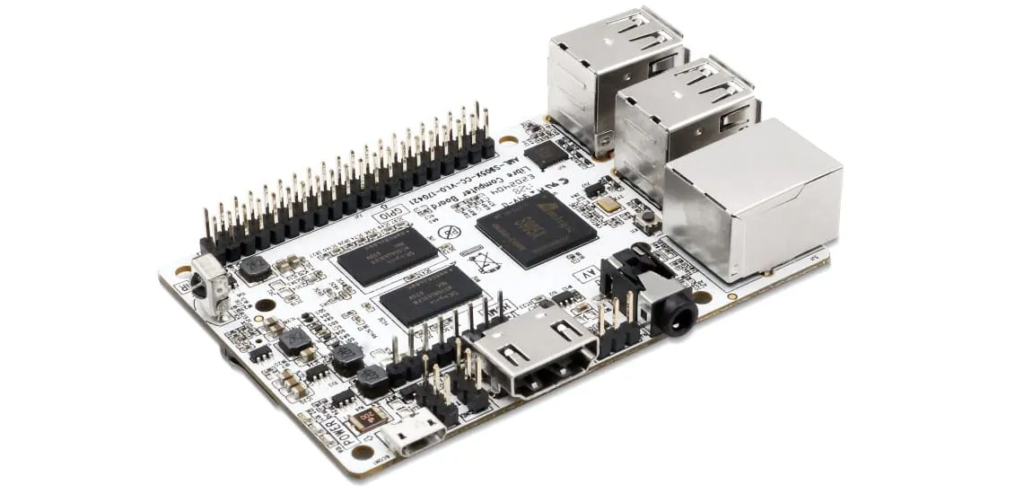
“Le Potato” is a Raspberry PI clone developed by a company called “Shenzhen Libre Technology Co” also known as “Libre Computer”.
Assumptions and Requirements
This tutorial assumes you are using Arch Linux to format the SD card. If you are familiar with Linux you can probably use a different distro to follow along with this tutorial, but the tutorial will use Arch specific terminology such as pacman, and Arch linux package names.
Formatting the SD Card
Insert the SD card into the computer and identifty which device it is. In my case, it was /dev/sdc.
Be careful! Pick the correct drive letter, or else you may erase your hard drive!
You can format the SD card using a tool like “fdisk”. Here is a code snippet to format the SD card correctly:
DISK=/dev/sdc
cat << EOF | fdisk --wipe-partitions always "${DISK}"
o
p
n
p
1

+200M
t
c
n
p
2


w
EOF
The above code snippet will create a partition table with two partitions /dev/sdc1 is the boot partition, /dev/sdc2 is the root of the operating system.
Once you have created the partition table, you need to format the partitions, which you can do like so:
BOOT=/dev/sdc1
ROOT=/dev/sdc2
mkfs.vfat "${BOOT}"
mkfs.ext4 -F "${ROOT}"
The SD card is now formatted correctly. If you have trouble following along with this stage of the tutorial, more detailed instructions for formatting the SD card can be found on the Arch Linux ARM website, which you can visit by following this link.
Writing the Content to the SD Card
We will be using the tarball provided by the Arch Linux ARM project for the Raspberry PI 4 (but don’t worry, we are targeting Le Potato).
First, you must download the tarball like so:
wget "http://os.archlinuxarm.org/os/ArchLinuxARM-rpi-aarch64-latest.tar.gz"
Once the tarball is downloaded, you must mount the SD card and extract the tarball onto the SD card, which you can do like so:
BOOT=/dev/sdc1
ROOT=/dev/sdc2

mkdir -p root
mount "${ROOT}" root

mkdir -p root/boot
mount "${BOOT}" root/boot

bsdtar -xpf ArchLinuxARM-rpi-aarch64-latest.tar.gz -C root
Chrooting into the SD Card Environment
To chroot into the ARM64 environment you will need the “arch‑chroot” CLI tool. This tool is available on many Linux distros. On Arch Linux, the command to install this tool (if you haven’t already) is:
sudo pacman -S arch-install-scripts
If your computer does not have an ARM64 architexture, you will need to install the qemu‑user‑static‑binfmt package and start the related systemd service, like so:
sudo pacman -S qemu-user-static-binfmt
sudo systemctl start systemd-binfmt
Once you are ready, assuming your SD card is still mounted with the configuration in the previous step, you can “chroot” into it like so:
cd "${ROOT}"
arch-chroot .
You should now be presented with a bash shell in a chrooted environment where you can execute the SD card’s binaries as though you were running the operating system.
If you see the message exec format error it means your system is unable to run ARM64 binaries. To resolve this, check the status of systemd‑binfmt and ensure it is enabled.
Installing GRUB onto the SD Card
Once you have chrooted into the SD card environment (see previous step) you must install GRUB onto the SD card like so:
# Necessary upon first use of pacman
pacman-key --init
pacman-key --populate archlinuxarm
# Install GRUB package
pacman -Syu grub
# Install GRUB to the boot sector
grub-install --efi-directory /boot --no-nvram
The above command also updates the system (pacman -u).
Finishing Steps
We are now ready to boot the Le Potato! 😊
Once you have installed GRUB onto the SD card, you may unmount the SD card like so:
umount --lazy root/boot root
You may now insert the SD card into the Le Potato. It will boot as expected.